< Sidux 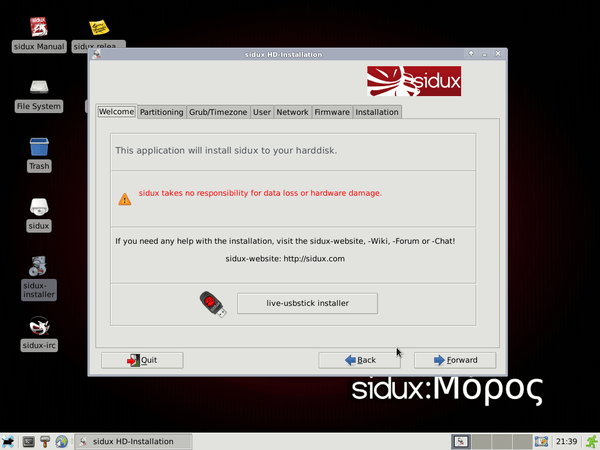


Downloading
- What you have to do first is downloading ISO image of aptosid (former: sidux) from the project page:
- I'll make my installation on old laptop Compaq Evo N620c, Pentium M 1.3GHz, !.5GB RAM, 40GB hard drive,
- graphic card ATI Radeon 7500 so i choose XFCE.
- I suggest to use any download manager such as FlashGet, GetRight or Firefox web browser with DownThemAll! add-on.
Burning
- Most burning applications have "iso image burn/write" option so use that one.
- Burning should be make as slow speed as possible to evoid writing mistakes.
Attention !
If you have only one partition on your computer hard drive with Windows installed on it, you must:
- Make cleaning "C" drive: to remove all unwanted files.
- Make defragmentation of "C" drive.
- Make Back-up of Windows system to an external drive or burn it on CD/DVD drives.
Booting live CD
- Put sidux CD/DVD in your computer optical drive.
- Re-start your computer and get to BIOS with F2 or F10 bottom.
- Go to BOOT section - choose BOOT from optical drive as the first booting option.
- Next: SAVE CHANGES.
- Confirm changes with F10 and start sidux live CD.
- After displaing BOOT LOADER choose F2 from OPTIONS if you want to change language (default=english).
- Click ENTER to load system.
Network configuration
- Having ETHERNET connection do nothing, connection will be established itself.
- WIRELESS (Wi-fi) connection - have a look Ceni
Installation
Any changes you make on hard drive may damage existing file system
- you do that on your own risk!
This is sample partitioning - it may be vary, dependent of existing partitions.
1. Running installation
- Choose "sidux-installer" icon from desktop-> then Next
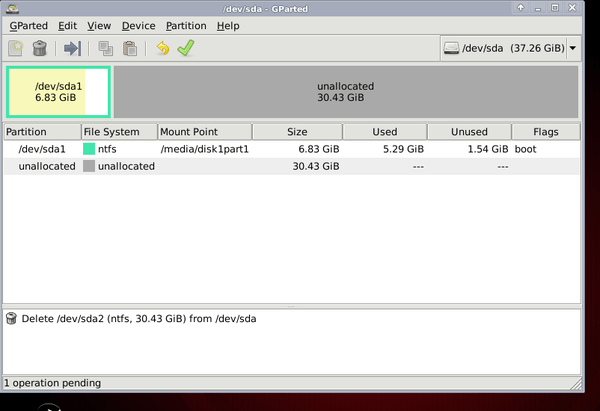
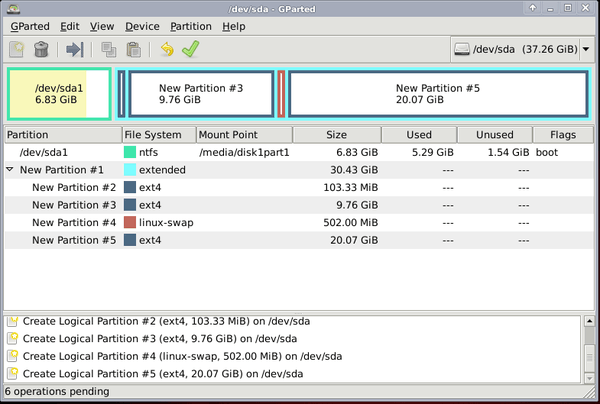
2. Standard partitioning
- Run Partition Manager "gParted" for : /dev/sda -> Forward
- 2.1. Partition /dev/sda1 (C:) contains system Windows with ntfs file system.
- 2.2. Partition /dev/sda5 (D:) contains ntfs file system - delete it.
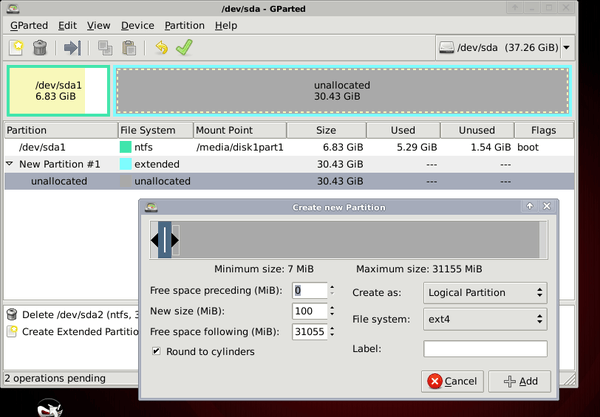
- 2.3. Create new partition on unallocated space as "Extended partition".
- 2.4. Create new partition on unallocated space as ext4 file system sized 100 MB (sda5).
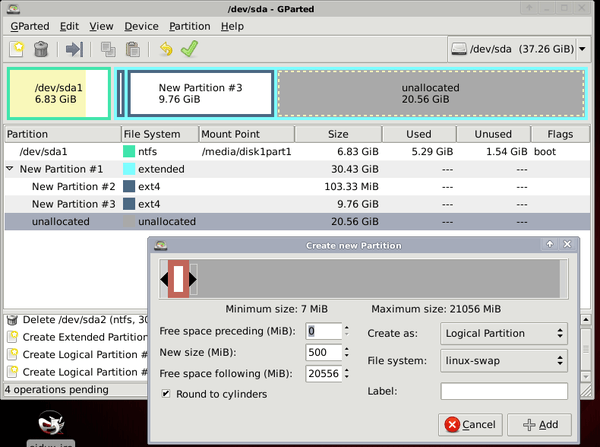
- 2.5. Create new partition on unallocated space as ext4 file system sized 10000 MB (sda6).
- 2.6. Create new partition on unallocated space as linux-swap file system sized 500 MB (sda7).
- a. If your RAM memory is up to 1 GB make swap partition two times bigger than RAM.
- b. If your RAM memory is more than 1 GB the swap partition may be the same or smaller than RAM.
- 2.7. Create new partition on unallocated space as ext4 file system using rest of it (sda8).
- 2.8. Changes have not be made yet - you can still abort it ;)
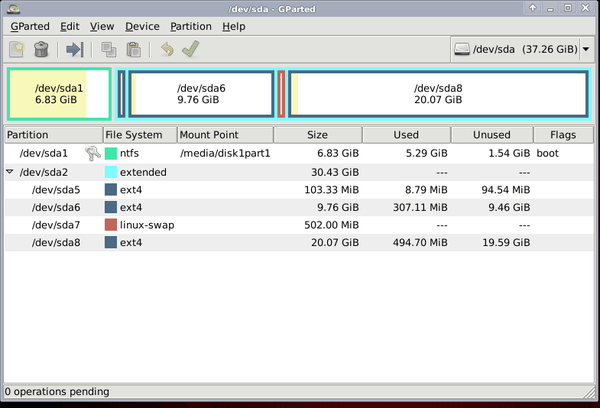
- 2.9. Click on green bottom-> Apply
- 2.10. After that close gParted and get back to installation window; new partitions are visible now.
3. Partitioning of only one existing partition with Windows system installed on it
- Run partition manager gParted for: /dev/sda -> Forward.
- 3.1. For Windows XP usually it's partition /dev/sda1 or /dev/hda1
- 3.2. For Windows Vista you have to detect partition with installed Windows system,
- I never work under Vista before.
- 3.3. For Windows 7 (on my second laptop) it is partition /dev/sda3
- 3.4. Do not delete the partition !!! Just change the partition size for two times bigger
- than Windows 7 occupy now -> Resize.
- 3.5. On a part of partiton you made free create "Extended Partition" first and four other partitons
- as the same way as above (standard partitioning).
- 3.6. Click on green bottom -> Forward - Are yoy sure? -> Forward.
- 3.7. When you finish partitioning stop the installation.
- 3.8. Run Windows system and wait until Windows checks its own file system and run it normally.
- 3.9. If everything is ok, run sidux live CD again and back to installation.
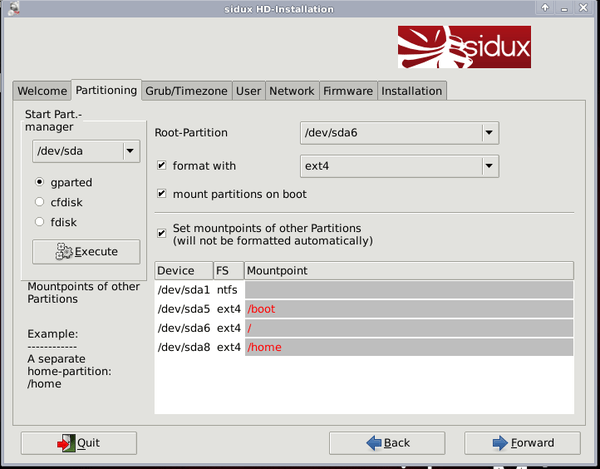
4. Set mountpoints
- Set mountpoints for all partitions (remember it's only an example) such as:
- 4.1. Main (root): /dev/sda6 as "/"
- 4.2. Boot: /dev/sda5 as "/boot"
- 4.3. Home: /dev/sda8 as "/home" -> then Forward.
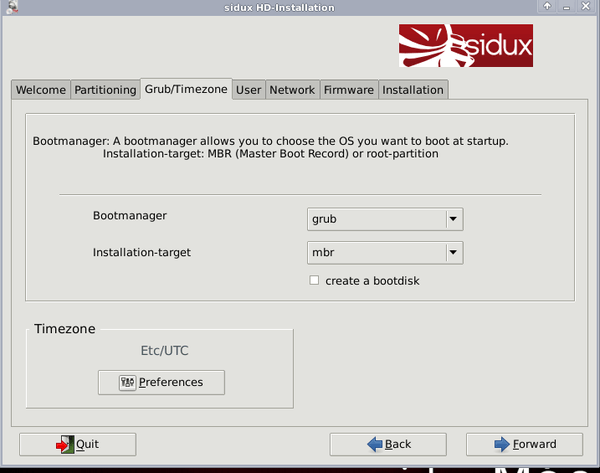
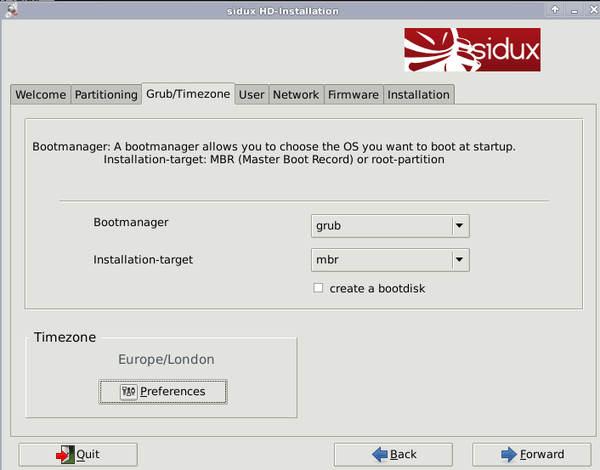
5. Grub/Timezone
- 5.1. Bootmanager: GRUB
- 5.2. Target: mbr
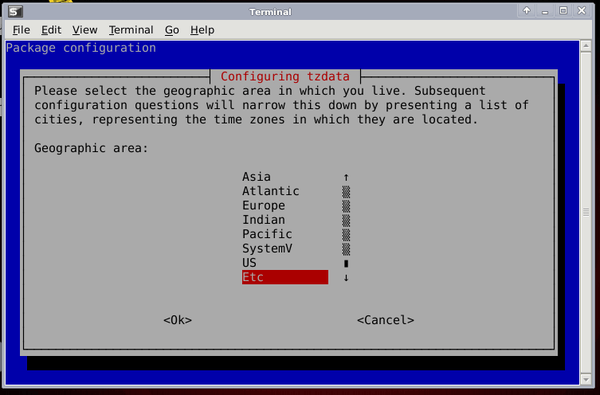
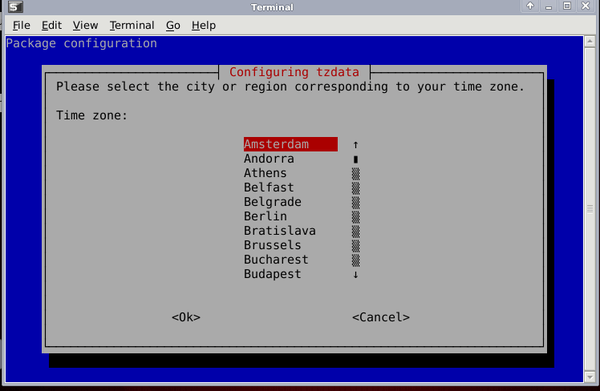
- 5.3. Time zone: Etc/UTC; if you want to change it click on: PREFERENCE and choose your country,
- and your city, then-> OK.
- 5.4. Click on Forward.
6. User
- Type root password, user name and password -> FORWARD.
7. Network
- Hostname: keep "sidux" or type your name -> FORWARD.
8. Firmware
- Installator has been detected missing drivers unavailable on sidux CD
- 8.1. One of theme is Wireless Networing Card driver so I can't make internet connection without it.
- 8.2. Using another computer download package "zd1211-firmware" from: debian.org
- 8.3. Then copy the package on blank CD/DVD or a pen drive and move it to your home folder.
- 8.4. Open Terminal: Menu-> Accesories-> Terminal as root (root password is not set up)
- 8.5. Check your home folder with "ls" command to make sure the "zd1211-firmware" package is there.
- 8.6. Install the package:
dpkg -i zd1211-firmware_version_no.deb
modprobe -r zd1211rw
modprobe zd1211rw
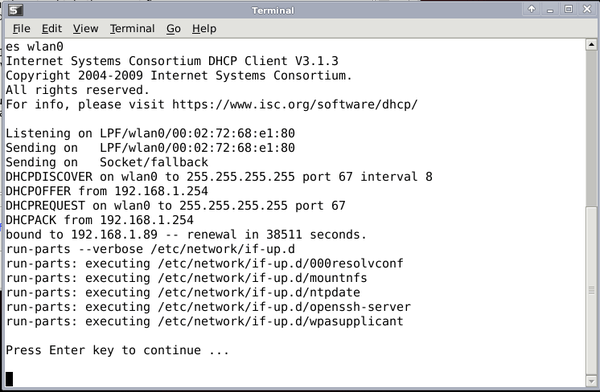
9. Ceni
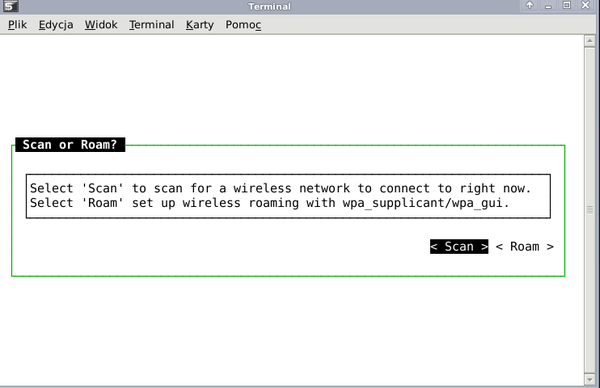
- Now open Network Manager Ceni: Menu-> Network-> Ceni.
- 9.1. Choose "Hardware interface": wlan0
- 9.2. Next: Scan
- and choose your Wi-fi name's network from the list
- 9.3. Type your Wi-fi password in "Preshared Key" window and click on: Accept
- 9.4. If your router gives IP automatically leave method: dhcp on "Network settings for wlan0".
- 9.5. Then: Accept and close Ceni down.
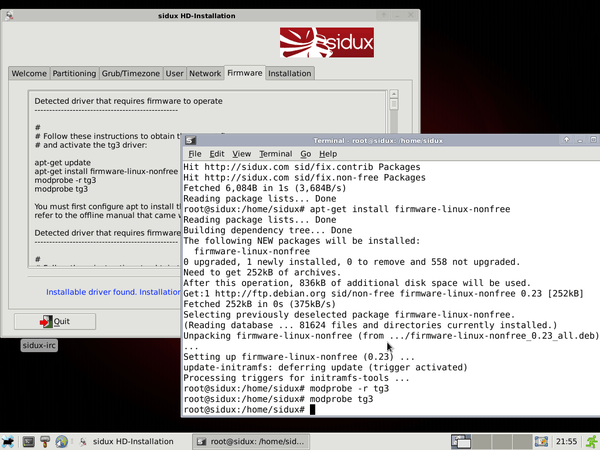
10. Non-free firmware
- Get back to installator - there is still missing "tg3" driver.
- 10.1. In option: Installable driver found. Installation add non-free sources (it will add non-free repositories)->
- click on Add.
- 10.2. Then go to Terminal again and install missing driver:
apt-get install firmware-linux-nonfree
modprobe -r tg3
modprobe tg3
- 3. Close Terminal down.
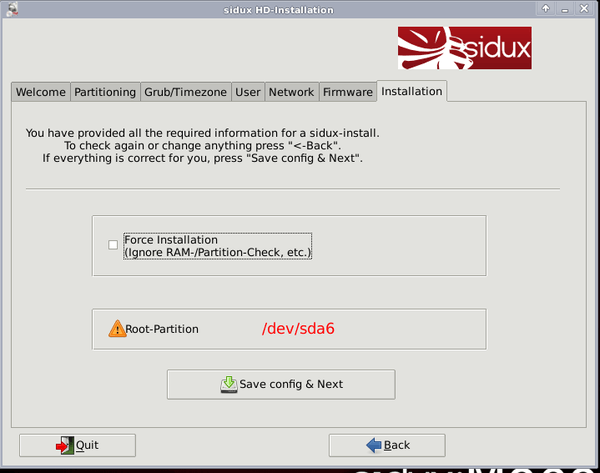
11. Back to installation
- Get back to installator again :-) and click on Forward -> Save config & Next
- 11.1. umount all partitions? -> Yes
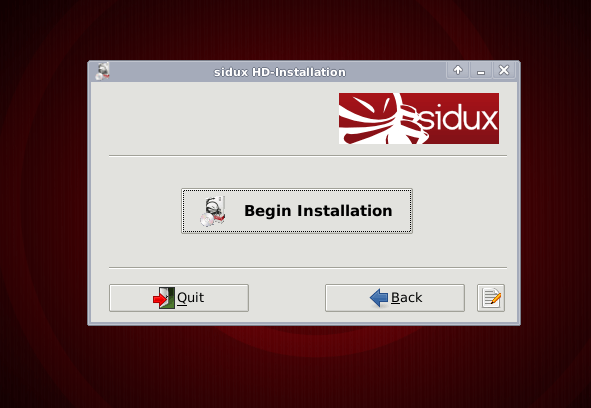
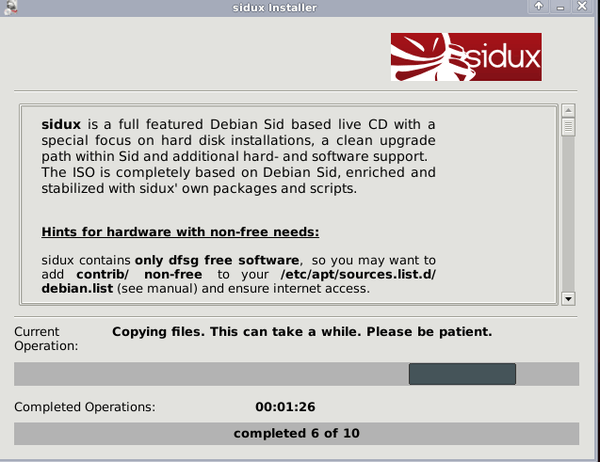
- 11.2. Click on: Begin Instalation to start installation
- 11.3. After 5-10 minutes about
- system is installed
- 11.4. Close the live system down, remove CD and boot your computer up from hard drive.
- Next to Post-instalation work
- Back to Main page
This article is issued from
Wikibooks.
The text is licensed under Creative
Commons - Attribution - Sharealike.
Additional terms may apply for the media files.