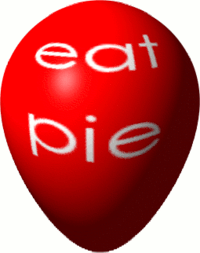
Step I
First, create a square image, and fill it with the colour of the balloon. Next, use the text tool to add any writing. This should be centred, and take up no more than about one-third of the space in each dimension. Merge the text layer with the colour layer.

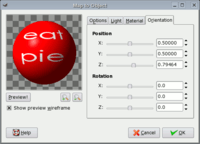
Step II
Use "Map to Object" (<Image> Filters > Map > Map Object) to create a sphere. Ensure a transparent background is selected. By default, the sphere won't take up the whole of the image, so tweak this with the Orientation controls.
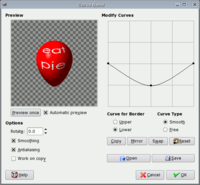
Step III
To get the shape of a balloon, use Curve Bend (<Image> Filters > Distorts > Curve Bend). Select to work on the lower curve, as a smooth. Add one control point in the lower half of the grid, centred horizontally.
Step IV
The resulting image won't fit the current size, so select <Image> Image > Fit Canvas to Layers.