Overview
This tutorial is designed to teach users to make a low-poly animesque head in Blender.
What you need to know:
- Basic Blender controls
Add a plane
Noob Note: Using triangles on a subsurfed model may result in "peaks" appearing in some areas. To reduce this problem, merge as many triangles into quads as possible.
Start with a new file, and delete ( X ) the default cube.
Be in Front view ( NUM1 )
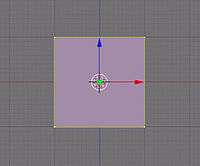
Add a plane ( SHIFT + A -> add-> mesh-> plane)
Click on "Align to view" in the settings at the bottom left side.
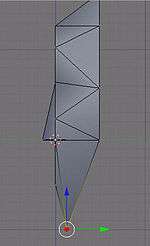
Make a pointed chin
Switch to Edit mode
Be in Vertex select mode
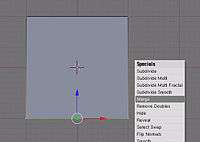
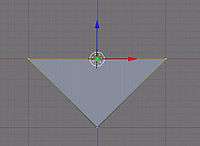
Select the bottom two vertices ( SHIFT + RMB ) and press W to bring up the vertex menu. "Select Merge", then "At Center", or just hit ALT + M and choose "At Center".
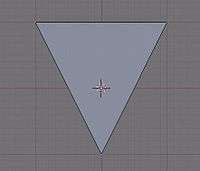
Now you have a pointed chin.
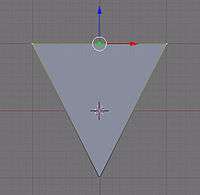
Select the top two vertices (use the B )
Re-arrange them so they make more of a chin shape by pressing the G to move and Z to constrain the movement to the Z-Axis.
Noob Note: Move it down; don't scale it out.
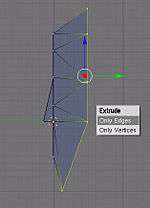
Extrude the face
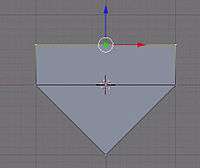
Now extrude ( E ) "edges only", along the Z-Axis ( Z ) so that you have another area.

As a precaution, remove doubles. (WKEY)
Scale it ( S ) so that it's not so cubic.

Now extrude along the Z-Axis again ( E then Z ) and scale ( S ) it down a bit.
One last time... (E) (Z) (S)
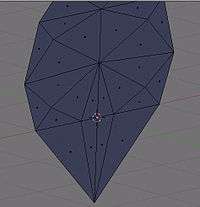
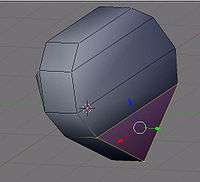
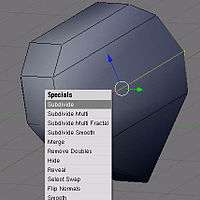
Make the facial features

Select the middle vertices (BKEY) or (RMB) and press (WKEY) to bring up the specials menu. Subdivide it once.
Note: In newer versions you have to check the checkbox: "Quad/Tri Mode" in the lower left corner.

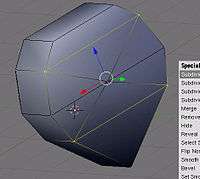
Now select at first the pair of vertices above and subdivide once.
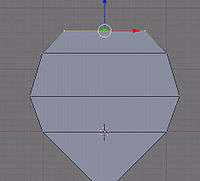
Now subdivide 2 times with the pair of vertices below the center line.
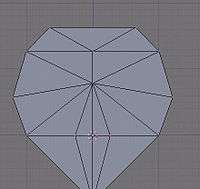
Yours should now look like this one on the right.
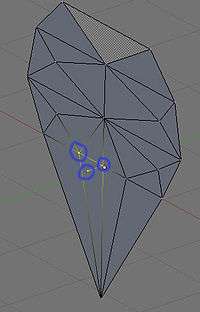
Eyes
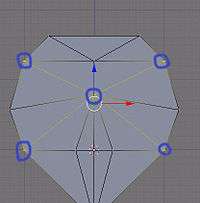
Select and subdivide here, so you can make the eyes.
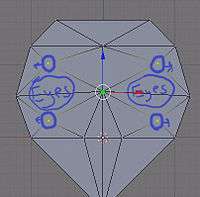
And rearrange the vertices so they make eye shapes.
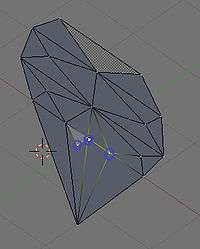
Nose
Now select the middle vertex here (right mouse button).
Extrude it along the Y-Axis (EKEY) (YKEY) and move your mouse around to change how far it moves.
Select these three vertices ('SHIFT+RMB) and press (F) to make a face.
Now do the same to the other side, and you will have the nose's base.
Select these vertices (SHIFT+RMB) and make a face (F).
Do this to the other side.
Now you have a nose.
Remove interior nose faces
Rotate the camera (CTRL+NUM1) so you are seeing the back.
Be in Face select mode.
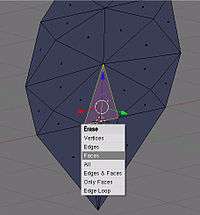
Select (SHIFT+RMB) the faces behind the nose.
Delete (XKEY) them (on the popup pick "Faces").
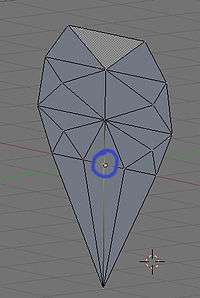
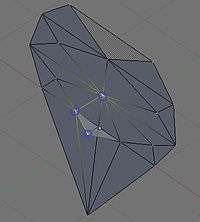
Smooth the mouth region
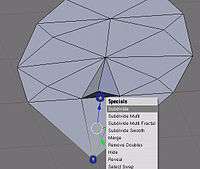
Be in Vertex select mode
Select the vertex at the bottom of the chin, and the one at the bottom of the nose.
Subdivide them.
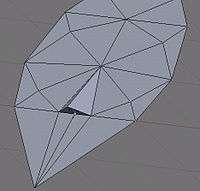
Make the head
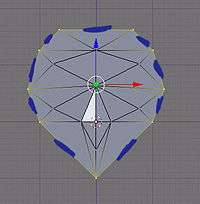
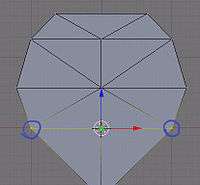
Be in Edge select mode
Select all the edges on the outside (shown with blue lines in the photo).

Move (GKEY) the vertices back, along the Y axis (YKEY), a bit to give the face more smoothness
Be in Vertex select mode
Rearrange the chin, by moving (GKEY) the bottom vertice along the Y axis (YKEY) till it looks right.
Make the back of the head
Be in Edge select mode
Now select the edges all around the back of the head, using (BKEY).
Extrude these along the y axis (EKEY) (YKEY)
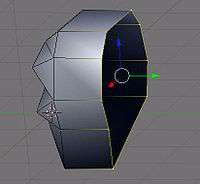
Ta da!

Now select a set of 4 back vertices that form sort of a rectangle and press (FKEY) to make a face.
and so on....
and so on....
now select and subdivide these once (W)
and these points too.
Now select the middle and move it back (G) (Y).
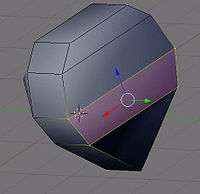
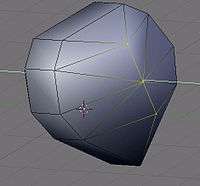
Finishing it up
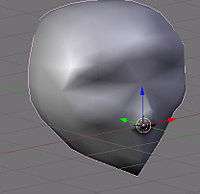
And here it is with sub-surfacing. You have finished. Hit (F12) to see the final render.